Account Setup
Now we will create a new keypair and configure our client wallet.
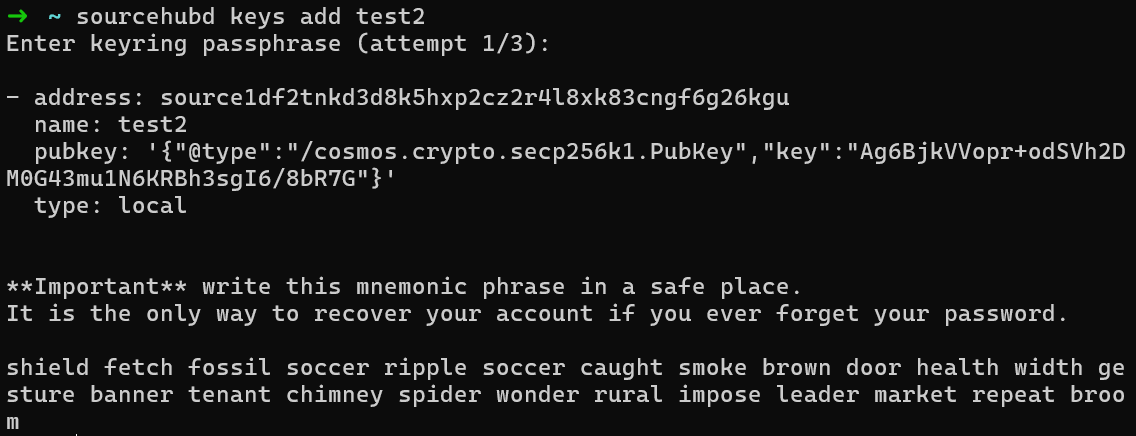
Adding a key
The following command will generate a new random private key with the name <wallet_name>
sourcehubd keys add <wallet_name>
This will output the newly generated public key, address, and mnemonic (make sure to back up the mnemonic).
Importing an existing mnemonic
If you want to import a key from an existing mnemonic, you can use the --recover option when adding the key:
sourcehubd keys add --recover <wallet_name>
Then input your existing mnemonic when prompted.
You MUST ensure that you sufficiently back up your mnemonic. Failure to do so may result in lost access to your wallet.
Configuring client
Now we can update the CLI client config to use the correct RPC node and ChainID. The RPC node is how we access the network API to send transactions and queries. RPC nodes are specific to certain networks, and must match the provided ChainID.
sourcehubd config set client chain-id <chain-id>
sourcehubd config set client node <rpc-address>
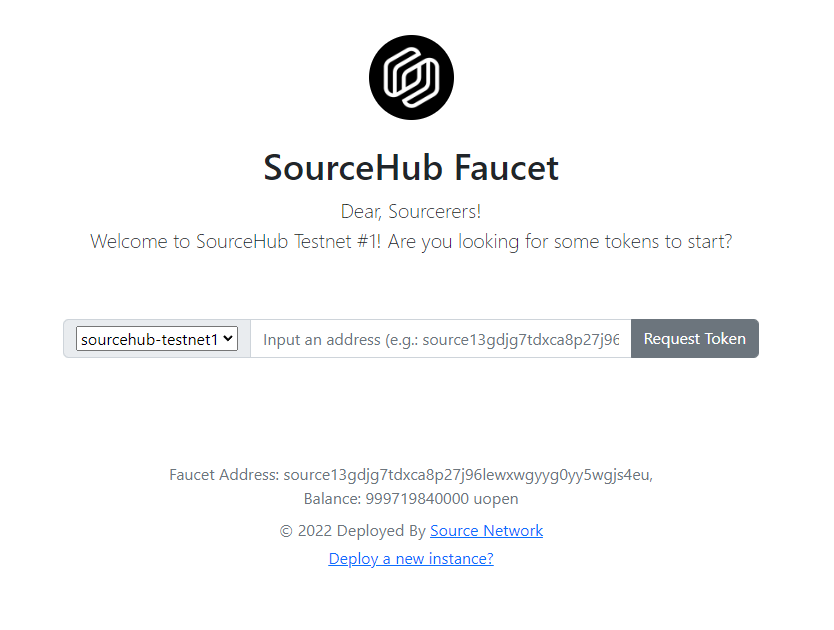
Faucet
Next we can load our account with some $OPEN tokens from the network faucet. You can find the faucet for the current testnet here.
Using the <address> from above when we created our wallet keypair (You can access your wallet keypair using sourcehubd keys show <wallet_name> --address), we can have the faucet seed our wallet with enough tokens to send a few transactions to get started.
Verify
Finally, we can verify that our account exists and that it has been loaded with the initial faucet tokens.
sourcehubd query bank balances <wallet_name>
That's it, we now have a newly generated local wallet via the CLI client. Now we can interact with the network! First up, we will be creating an ACP policy, seeding it with some state, and executing authorization checks.